

This article explains how to enable BoxTrapper on an email account and how to adjust the verification it requires from unknown senders.
What is it for?
BoxTrapper holds mail from anyone who is not authorized. When a new message arrives, it responds only with a verification request. The sender has to complete it for the message to go to the inbox. If they do not, the message stays in a queue and, after the configured deadline, it is deleted.
- The addresses you write to can enter without that step.
- Everyone else has to verify before you read the message.
- You can review the queue and let pass or delete what has not yet been verified.
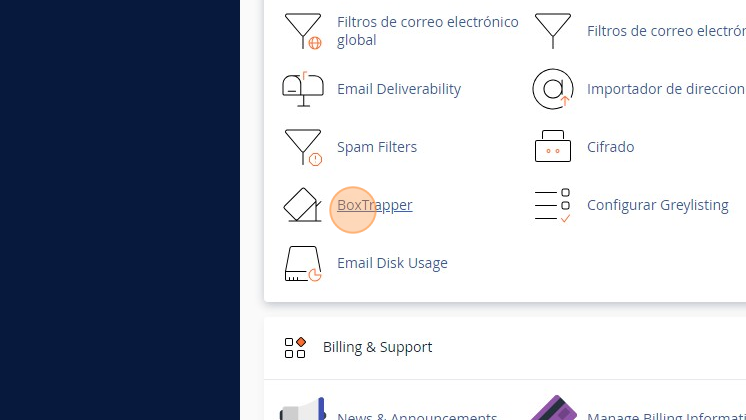
Access: log in to cPanel from the client portal → Log in to cPanel, or at https://yourdomain.com/cpanel. Then go to Email → BoxTrapper.
Important: BoxTrapper replies to unknown senders, including spam. Automated notices, invoices, and lists usually do not complete verification, so that mail does not reach the inbox. Review the queue before the deadline expires: what is not verified is deleted.
Enable BoxTrapper
- Log in to cPanel.
- Open Email → BoxTrapper.
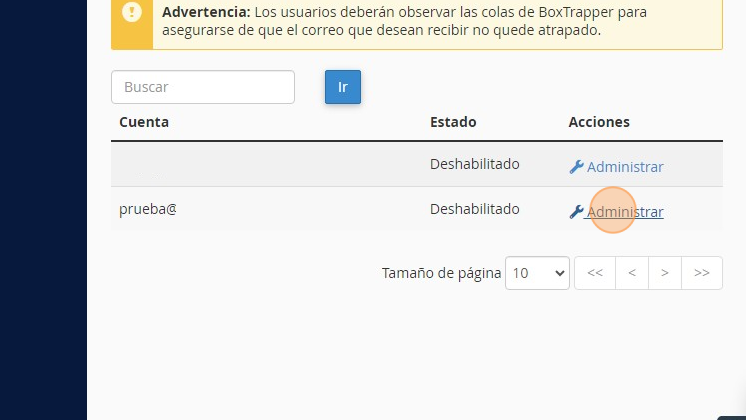
- In the account you want to protect, click Manage.
- Click Enable.
When enabling it, the addresses to which you send mail from that account are placed on the whitelist and do not have to verify.
Configure settings
- In the same account, click Configure Settings.
- In Email Addresses for this Account, enter, separated by comma, the addresses that forward mail to this account. This is not the list of allowed senders.
- In Your Name, type the name that the sender will see in the verification request.
- In The number of days you wish to keep logs and messages in the queue, indicate how many days unverified messages are kept. After that period they are deleted.
- In Minimum SpamAssassin spam score required to bypass BoxTrapper, leave
-2.5if you do not need to change it. - Enable the automatic whitelist if you want every address you write to to be authorized.
- If you also want to authorize the addresses that appear in To and CC of messages that already come from someone on the whitelist, check that box.
- Click Save.
If the spam score of the message is lower than the number in that field, it enters directly and no verification is requested. A lower number makes BoxTrapper request verification on more messages. A higher one lets more mail pass without that step. With 5 it requests verification more often than with 10. The factory value is -2.5.
Review what was left on hold
- In the account configuration, open Review Queue.
- Check the day and choose Whitelist and Deliver to deliver the message and authorize the sender, or Delete to delete it.
- Click Submit.
From Edit White/Black/Ignore lists you can load addresses manually. The whitelist delivers the message. The blacklist deletes it and notifies the sender. The ignore list deletes it without notice.
Frequent problems
- An expected email does not arrive: the sender did not verify. Look for it in Review Queue and use Whitelist and Deliver if it is valid.
- An invoice or automated notice disappeared: those addresses usually do not reply to verification. Add them to the whitelist.
- Too much mail arrives without verification, or verification is requested almost always: the minimum score is high or low. Go back to
-2.5to use the factory value. - An authorized sender still cannot enter: they may be on the ignore list. That list has priority over the whitelist.
- The queue empties itself: the configured number of days has expired. Messages from that period have already been deleted.
If BoxTrapper cannot be enabled, the queue does not show a message that should be there, or mail you need is deleted, open a ticket from the client portal or consult through the site's online chat.